
|
|
|
|
||||
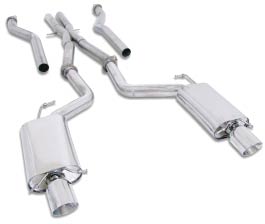
Cadillac CTS VRemoval of the Resonator and Installation of Vortex Cone Inserts Into the 3" Race X-Pipe Cat-Back |
||||
Submitted by: StealthV Use this as a pictorial reference only; always refer to the official B&B instructions for more detail or clarification. For more information, please visit B&B Performance Exhaust
|
||||
|
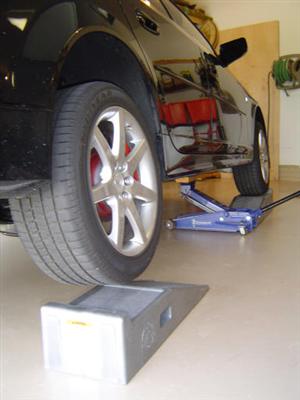
Installation time: Approximately one hour with one person.
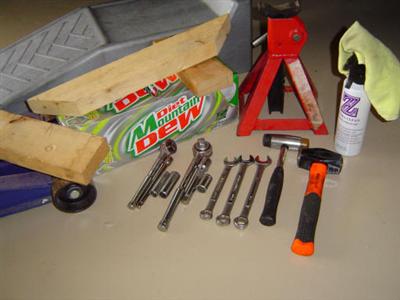
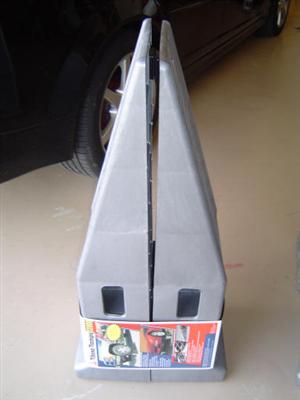
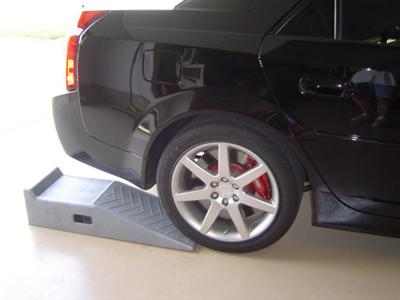
2. Ah...the second set of $29.95 12,000 pound Rhino Ramps. No more jack stands for me!
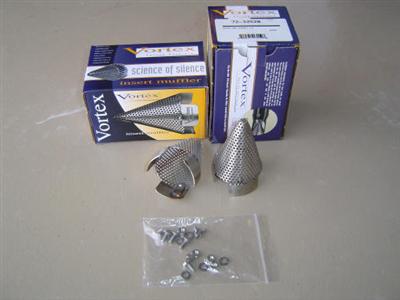
3. Vortex 3" Inserts, Part Number DTC-72-32520, from SummitRacing.com $128.85 shipped cost for the pair of cones.
4. Center the Rhino Ramps behind the rear tires and align the ramps with the front tires.
5. Back the Cadillac CTS V up onto the ramps. Apply the parking brake, place the transmission in first gear and shut off the engine.
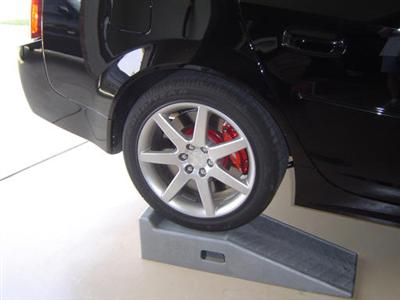
6. Jack the front of the car up and slide the front ramp under the car. The stiff chassis of the Cadillac CTS-V will cause the rear wheel to lift off the rear ramp.
7. Repeat step 6 for the other side of the Cadillac CTS V.
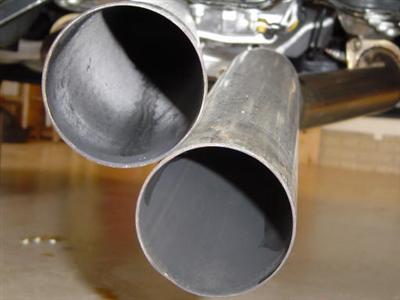
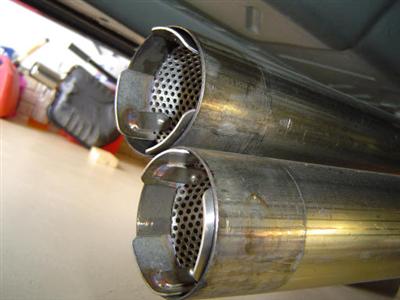
8. 2000+ miles on the B&B system so far...
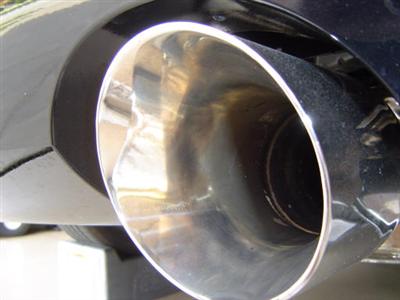
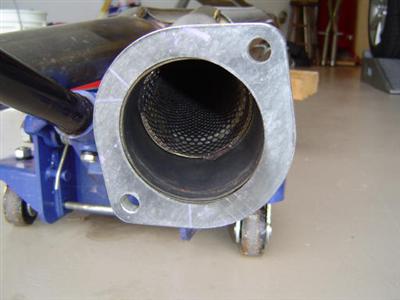
9. 2000 miles on the 4.5" tips...
10. Lubricate and loosen the front exhaust manifold studs with a 15-mm deep socket.
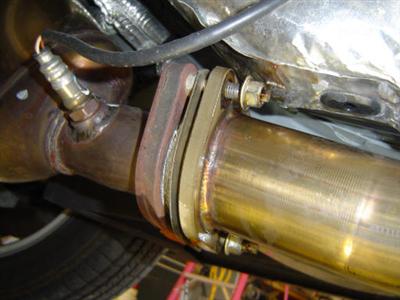
11. Remove the four bolts/nuts connecting the polished muffler pipes to the x-pipe with an 11/16" wrench and a 5/8" socket.
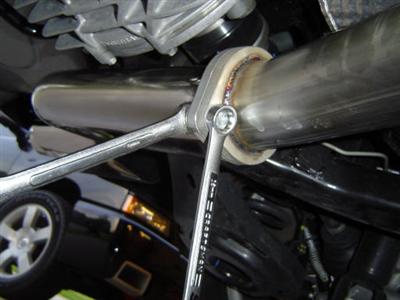
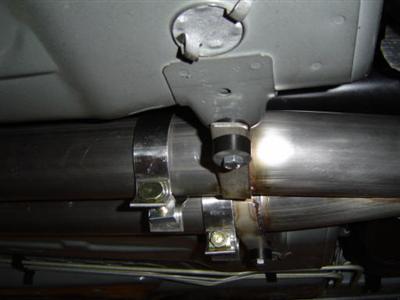
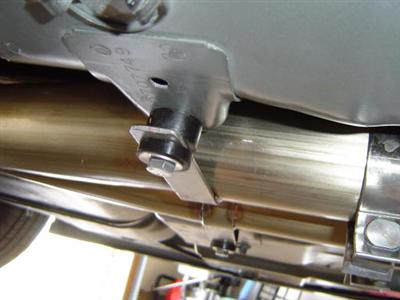
12. Loosen the two center support bolts and spacers with a 13-mm socket and set aside for reuse.
13. Use the floor jack and a 2x4 to support the resonator. Finish removing the bolts from step 12 and gently lower the resonator.
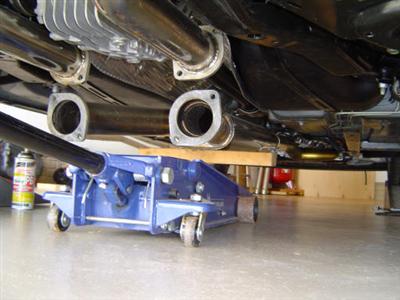
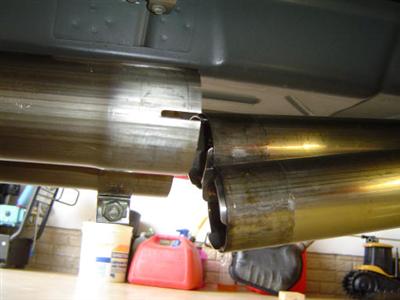
14. Loosen the center camps and gently wiggle the resonator rearward, disconnecting it from the front pipes and roll it out from under the car.
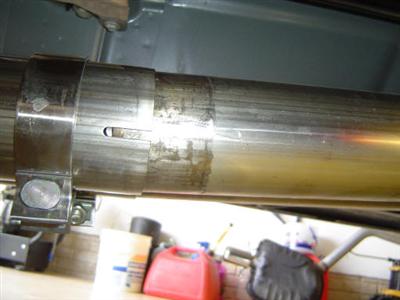
15. Note the carbon build up...
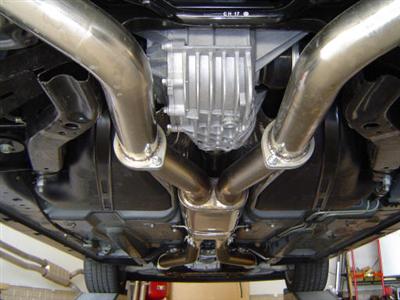
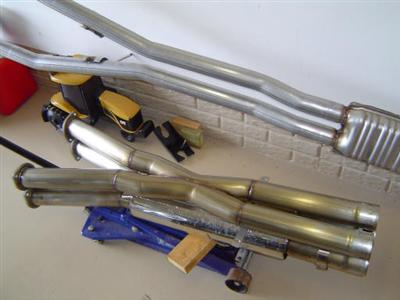
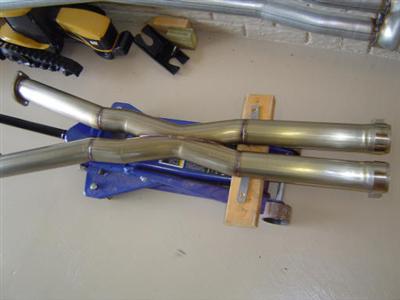
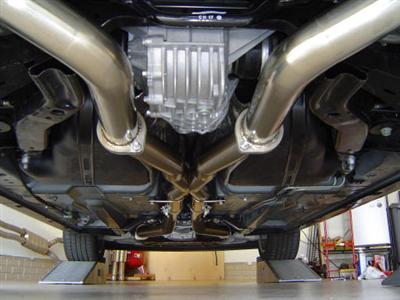
16. Comparison of the x-pipe sitting on top of the resonator with the stock exhaust in the back ground.
17. Transfer the clamps from the resonator to the x-pipe.
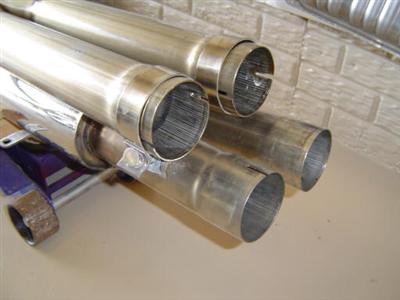
18. Carbon
build-up in the front pipes...
19. Install the cones into the front pipes. Leave approximately 3/16" of the cone sticking out for ease of removal with a pliers if necessary.
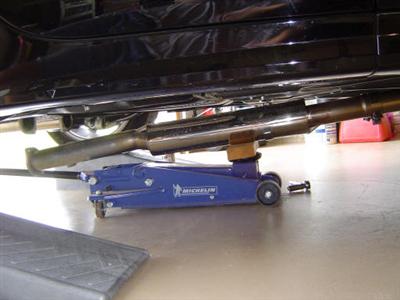
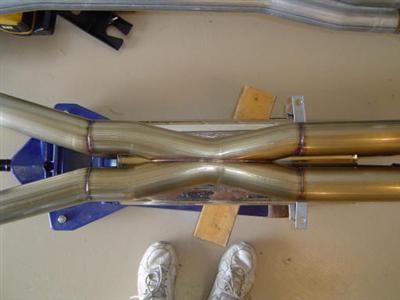
20. Place the x-pipe on the floor jack and roll it under the car.
21. Line up the x-pipe with the front pipes.
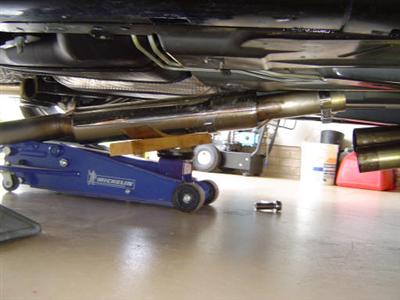
22. Push the x-pipe onto the front pipes until the witness marks on the front pipes are covered.
23. Use the floor jack to raise the x-pipe into position. Install the center support bushings and loosely install the bolts. NOTE: On my car, with the thin bushings on top, the x-pipe was pushing against the center heat shield. To overcome this, opposite to B&B instructions, the large bushing was placed on top with the thin bushing on the bottom.
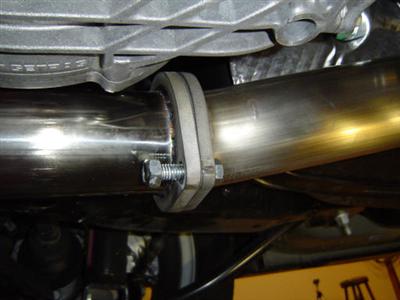
24. Line up the polished muffler pipes with the x-pipe. Place paper gaskets between the flanges and install the two nuts and bolts in each. Snug each side of the flange up evenly and tighten.
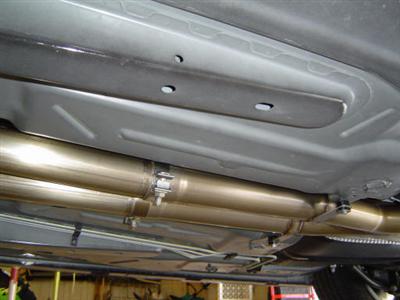
25. Make sure to tighten the four bolts at the muffler / x-pipe joint first. Next, tighten the front four exhaust flange bolts at the front of the car. Next snug up the center support bolts and finish by tightening the clamps at the connection of the x-pipe and front pipes. You now have a performance exhaust!
26. Before starting the engine, wipe down all surfaces of the performance exhaust - mufflers, tips, pipes to prevent blemishes and fingerprints from being burned in, discoloring the surface of the stainless. For mine, I used a microfiber towel and Zaino Z6. |
||||
|
This area is intended for Tech Tips submitted by members of LincolnvsCadillac.com. The opinions expressed here are the opinions of the individual author and do not necessarily represent the views of LincolnvsCadillac.com. Undertake these procedures at your own risk. If you have any comments or questions please contact the individual authors. Reader assumes all the risk associated with the installation of aftermarket products. LincolnvsCadillac.com and its owners are not responsible for any direct or indirect damage to the vehicle, person or persons and the resulting costs incurred from the installation or use of these products. LincolnvsCadillac.com recognizes that "Cadillac" and "Chevrolet" and their respective logos, model names and numbers are registered trademarks of the General Motors Corporation. These and other terms used on this website are used for identification purposes only. Lincolnvscadillac.com is not affiliated in any way with the General Motors Corporation, Cadillac, Chevrolet, Mobil or any other website or company listed herein. |
||||