
|
|
|
|
||||
1993 Cadillac Seville STSFront Strut Installation Guide |
||||
 |
||||
Submitted by:
1. Raise vehicle with proper lifting equipment. The tires must be off the ground. Suspension must be fully down with no load. ALWAYS USE EXTREME CAUTION WHEN LIFTING VEHICLE! (Refer to your owners manual for lifting instructions)
2. Remove front wheel(s).
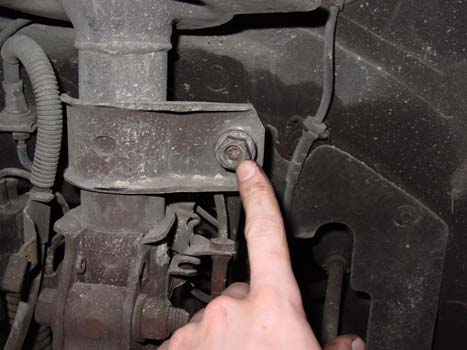
3. Unbolt the 2 side brackets from the strut. (These brackets hold the brake lines and other lower ball studs and other cables) 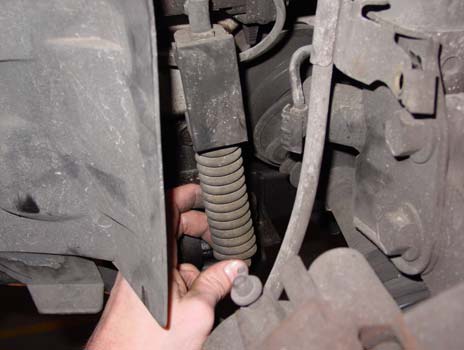
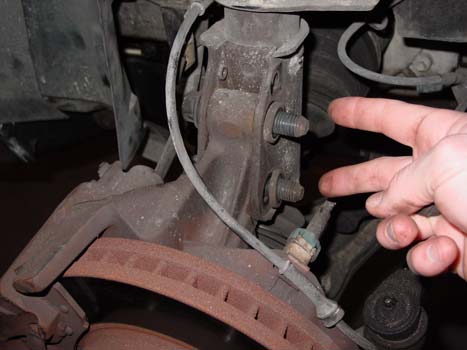
4. Remove the position sensor from upper and lower ball studs
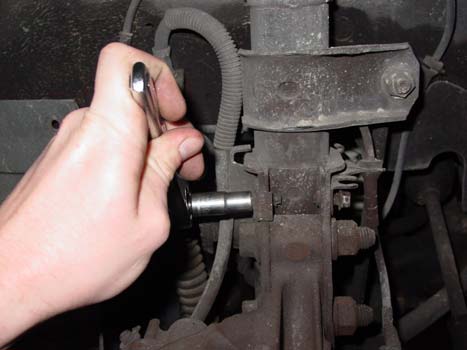
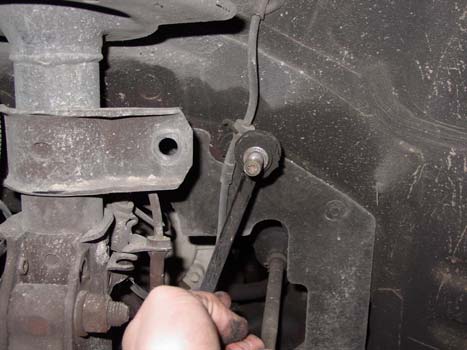
5. Remove nut from stabilizer link
6. Remove stabilizer link from strut.
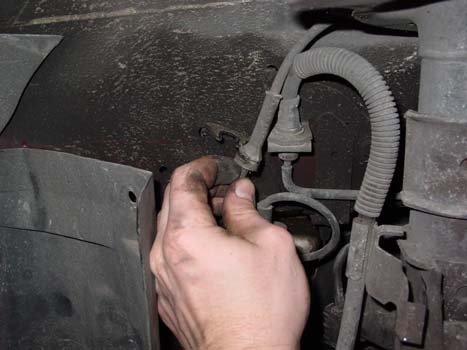
7. Remove strut damper solenoid cable from mounting brackets 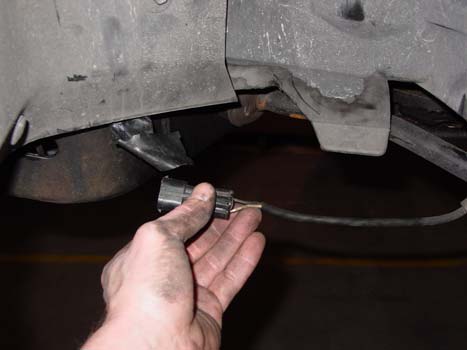
8. Unplug the strut damper solenoid and mounting brackets.
9. Remove the two nuts at the bottom of the strut 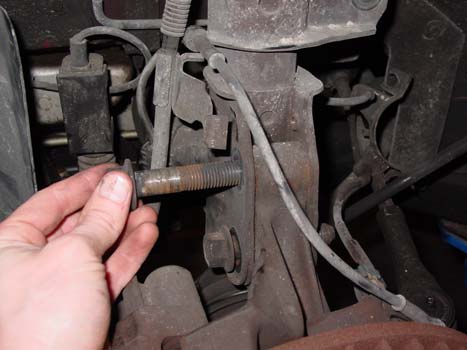
10. Remove the two strut-to-knuckle bolts. 11. Knuckle will fall away from strut. 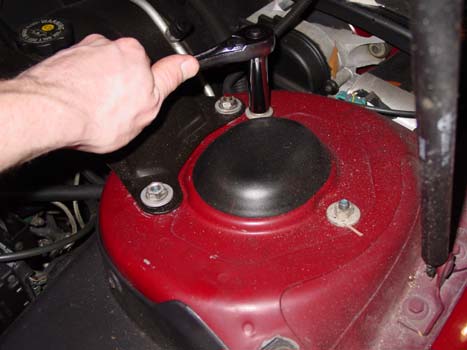
12. Remove 3 nuts attaching top of strut assembly to body.
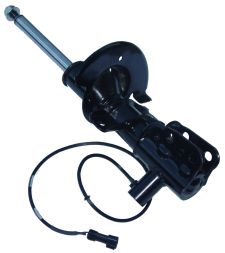
13. Remove old strut from vehicle.
Notice: Before you can install the new strut, you must first remove the coil spring with a spring compressor. Coil springs can be very dangerous. Make sure you follow all of the safety guidelines illustrated with the spring compressor.
15. Replace 3 nuts attaching top of strut assembly to body. (Reverse step 13) 16. Replace the two strut-to-knuckle bolts. (Reverse steps 9 and 10) 17. Plug in the new strut solenoid and hook the cable back to the mounting brackets. (Reverse steps 7 and 9) 18. Bolt stabilizer link to strut. (Reverse steps 5 and 6) 19. Replace the position sensor back to the upper and lower ball studs. (Reverse step 4) 20. Replace the brackets to the bottom of the strut. (Reverse step 3) 21. Replace wheel and lower suspension.
Notice:Wheel alignment is highly recommended. Changing your front struts will throw your alignment out of adjustment causing premature tire wear.
Submitted by and reprinted with permission from Arnott Inc
|
||||
|
This area is intended for Tech Tips submitted by members of LincolnvsCadillac.com. The opinions expressed here are the opinions of the individual author and do not necessarily represent the views of LincolnvsCadillac.com. Undertake these procedures at your own risk. If you have any comments or questions please contact the individual authors. Reader assumes all the risk associated with the installation of aftermarket products. LincolnvsCadillac.com and its owners are not responsible for any direct or indirect damage to the vehicle, person or persons and the resulting costs incurred from the installation or use of these products. LincolnvsCadillac.com recognizes that "Cadillac" and "Chevrolet" and their respective logos, model names and numbers are registered trademarks of the General Motors Corporation. These and other terms used on this website are used for identification purposes only. Lincolnvscadillac.com is not affiliated in any way with the General Motors Corporation, Cadillac, Chevrolet, Mobil or any other website or company listed herein. |
||||