To help anyone else who finds this thread, hoping to accomplish the same feat, hopefully these will answer your questions.
It took me close to 2 weeks to find out the real answers & order parts (even the Best Buy install bay recommended the wrong part).
1996 Lincoln Continental Anniversary Edition (with JBL premium sound): IF you do NOT have a separate antenna wire behind your factory radio, you MUST buy the wiring harness listed below.
Harness to buy: Metra 70-5601
Installation Dash Kit to buy: Metra 95-5817
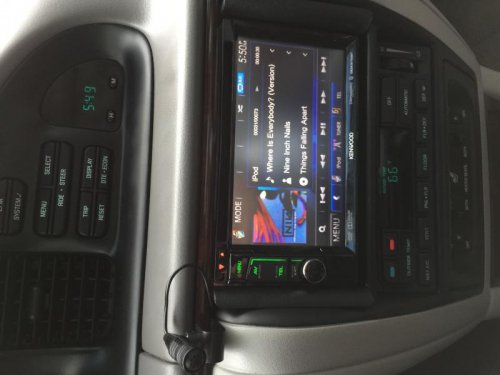
Double Din Head Unit used in my install: Kenwood DDX372BT
Backup Camera used in my install: Esky EC135-05
Estimated Time Spent: 7 hours
Difficulty Level: Medium to Hard (with 1-2 additional people to help keep you from going insane)
Quick and dirty explanation of install:
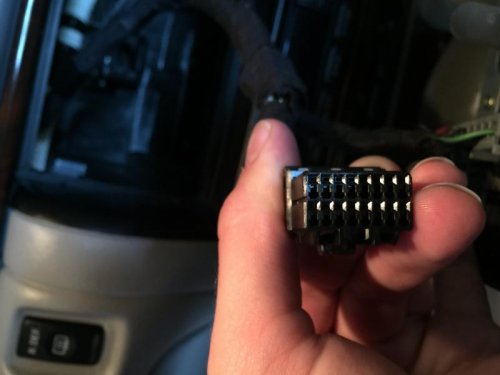
1) Remove stock radio using Radio Removal Tools (a brand similar to the "OTC 7575" will work). Unplug both harnesses - you will not be using the squared black plug with the new deck.
2) Remove "grocery carrier" from trunk (if applicable)
- Remove back seat (upper and lower). To remove the lower section of the seat, push firmly on the front of the seat towards the BACK of the car and slightly UP. Remove the upper section of seat by removing the 2 bolts holding it into place.
-After the upper portion of the seat is removed, you'll see a black rubber/foam covering where the seat was. You'll find 2 flaps/access doors to the trunk within this foam. Flip these open and remove the 2 bolts securing the back of the grocery rails.
-Now, remove the final 2 bolts from the rails near the back of the trunk (back of the car). Pull out the entire rack/rails.
3) Pull out the interior pillar molding from both sides of the car (if installing subwoofers, one side will do). These are held in with clips, be gentle while separating these from the floor panels and seatbelt pillars.
4) Pull down the carpet, plastic molding from the upper lid inside the trunk. This will expose the amp/wiring.
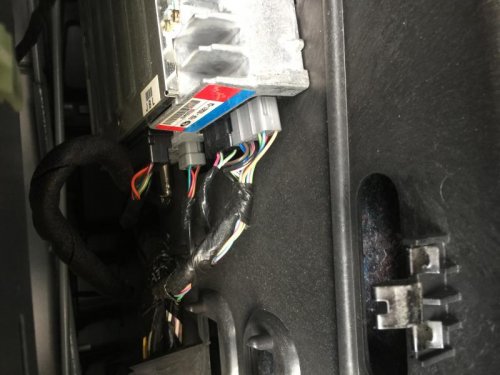
5) Disconnect the black plug on the amp that is directly left of the sticker on the amp. Connect this to the black plug from Metra 70-5601 harness. Disconnect the antenna cable from the amp - and connect this to the antenna plug supplied in the Metra 70-5601 harness.
6) Run the Metra 70-5601 harness above the carpet/plastic molding in the trunk (for a clean install), down to the plastic flaps (to go inside the cabin) where you removed the grocery carrier bolts. Run this harness under the foam in the back seat - all the way to the right side of the car. You will now run this harness under the carpet, all the way to the front of the car (where you will have to remove the corner panel and kick panel). Run these wires up above where your feet would go, into the back of the radio bay.
7) Splice in the wires from the gray plug (Metra harness) to your new radio's harness - red, black, yellow ,etc.
8) Splice in the other wires from the Metra harness to your new radio's harness - green, purple, etc.
9) Connect the antenna cable from the Metra harness to your new radio.
10) If installing a double din, cut out the black piece of plastic at the TOP of your radio bay - you will not be able to fit the new radio without doing this. I used tin snips and cut at the top left and top right corner.
11) If you're not installing subwoofers - plug in the metra harness' gray plug to the car's gray plug in your radio bay. Secure radio into place using Metra install kit (95-5817).
Not detailed subwoofer install:
1) Get your box(es) and amp(s) in the trunk & run your RCA cables down the same side as the Metra harness (step 6 above). Plug these into the back of your new radio when ready.
2) Run your power down the opposite side of your metra harness/RCA cables. Easiest place to start is at the front of the car. You will be running the power wire through the front-left quarter panel of the car. You will see a small hole by the hinge when you open the driver's door. Route your power wire from the fender into that hole, so it comes out under the dash. Run this wire under the carpet, all the way back to the trunk.
3) Connect your ground wire to the bolts where the grocery carrier was mounted (HOW CONVENIENT).
4) Make all your amp connections, etc, etc
I've made some knowledge assumptions in the steps above, so ask if you have any questions. I will not teach you how to install amps/subs, etc, but if you have general questions for relating to where I wired something or tools used, please ask.
NOTE: I did have access to some specialized tools for install (i.e. for running a fat 2GA wire into the interior), so you may need to make due with what you have, or take it to an installer.
99% finished (just need to order an Apple 30-pin to AV cable, then I'll "click in" the metra install kit)


