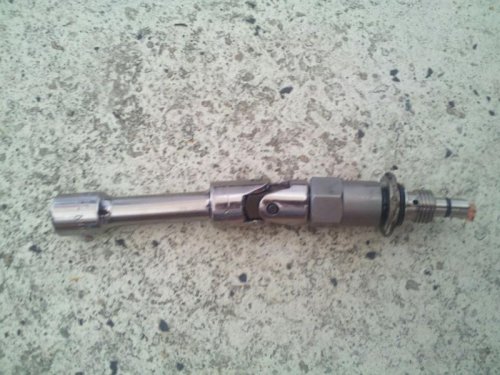
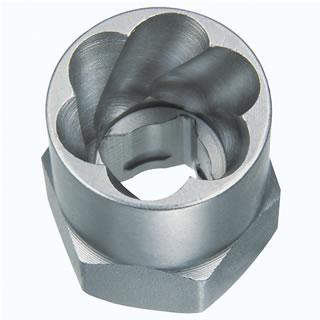
OK, got it done. Here's how I did it:
1. Removed underbody panel to get access to the pump from below.
2. Removed intake tube to have better access to reservoir.
3. Siphoned off all the fluid from the reservoir with a turkey baster.
4. Disconnected the suction line from the reservoir only.
5. Pushed line out the way of the actuator (used oil drain pan to catch any fluid).
6. I was able to get a small ratchet with a T-40 bit into the small area behind the pump and broke the actuator loose.
7. Using a T-40 screwdriver, I removed the actuator from the pump.
8. Using the wiring harness (note I didn't disconnect it first), I fished the actuator up from above and disconnected it from the harness (where it was much easier).
9. Reverse steps 1-8 to install new actuator.
10. Refilled the reservoir with fresh fluid.
It works like a champ now. Since I didn't let the suction tube or pump lose all of their fluid, there was no need to prime the pump.
So since I found this thread most useful as far as tackling the hydraulic fan pump actuator job, I thought I would resurrect it and contribute to it. While preparing for the job and scouring the net for several hours to find a good write up, this thread was the best I found, and I could not find any pictures of the process. So I took some

My symptoms were similar to others, fan would stay on low and would not kick on high. Overheating would often happen at the tail end of a trip during the city driving or stop and go traffic. Running the heater on high would cool it enough to keep the temp gauge in the middle. Summer around the corner, I need to get my cooling system to spec.
The job took me about 3 hours with a trip to the hardware store included, also was stopping to clean hands to snap a few pictures. Since the area we are working on is very tight, I could only get a few useable pictures. Difficulty 3 out of 10 although patience is required, you may only be able to unscrew the actuator a fraction of a turn at a time.
Part: XW4Z-3783-CA
I got mine from fairway ford through ebay
http://www.ebay.com/itm/160861645741 from seller fairfome for $125 to my door.
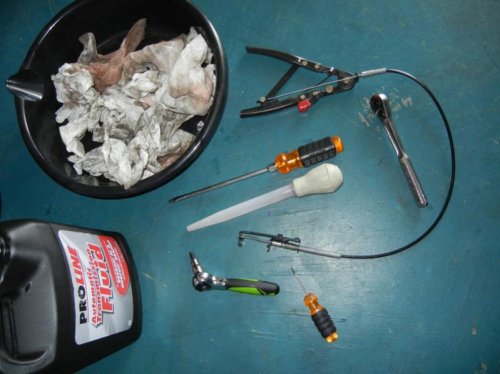
Tools:
Ramps(recommended) or Jack and Stands
T-40 bit on a socket
Ratchet (swivel head recommended)
Hose clamp tool
lots of towels/rags
Oil catch pan
Turkey Baster (optional)
ATF
Glasses, not shown in picture, necessary, you may have to be in a position where atf is dripping in your face.
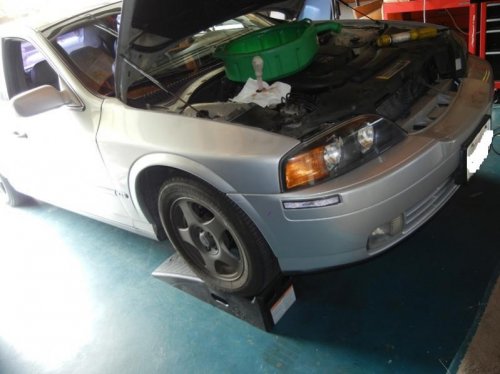
Drive up on ramps, pop hood, disconnect battery(i didn't) suction out as much fluid as you can from the fan reservoir.
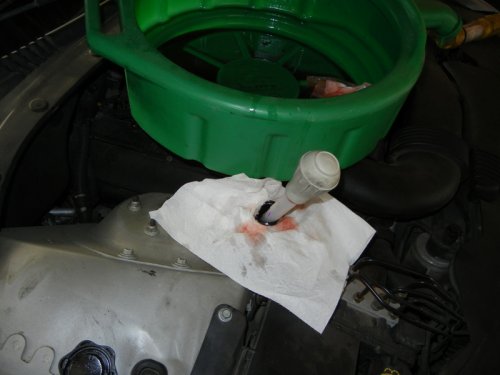
Crawl under car and locate your alternator near the passenger side tire (i had removed my plastic shields on a previous job), my alternator has a big terminal and 0g wire coming off it going directly to the battery, I have a big sound system and it isn't worth removing to disconnect the battery. That terminal and post/nut is HOT, careful shorting anything to it. The hose to the right of that is from the reservoir leading to pump hose.
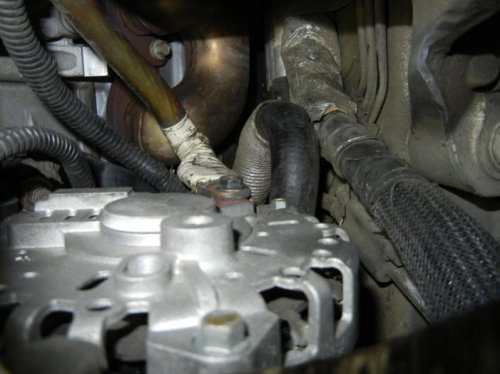
This is a picture of the solenoid, its located above the alternator on the back side of the pump, right above the reservoir hose. I wanted to see find this photo on the net so badly before I started but couldn't.
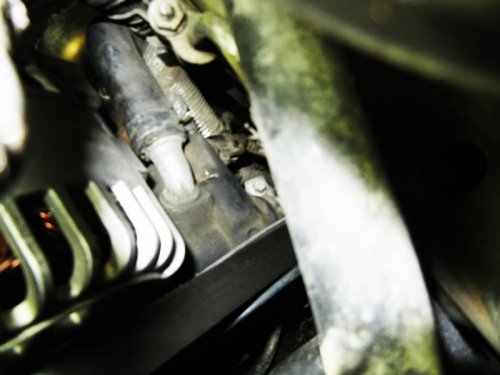
This is where a hose clamp tool comes in handy to remove this hose, its a tight spot even for the tool. Fluid will drip immediately, pull hose off pump and set it aside somewhere.

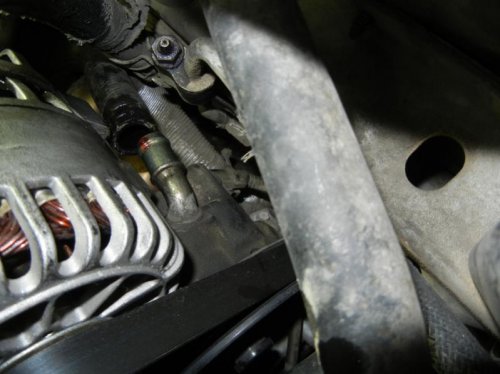
I couldn't see nor take a picture of the back side of the solenoid, but you can feel the T-40 socket with your fingers. Get a ratchet in there and carefully unscrew the solenoid. I was afraid of shorting out my rachet on the alternator post and was about to tape it when I found my good ole harbor freight swivel ratchet and it made life really easy, also it helps that the handle is insulated.
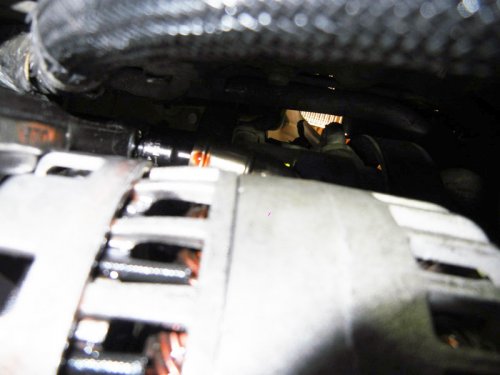

This is a top view of the solenoid, I couldn't see it until It was removed, once its disconnected fish it out with the electrical connector and disconnect it, connect new solenoid and drop it down.
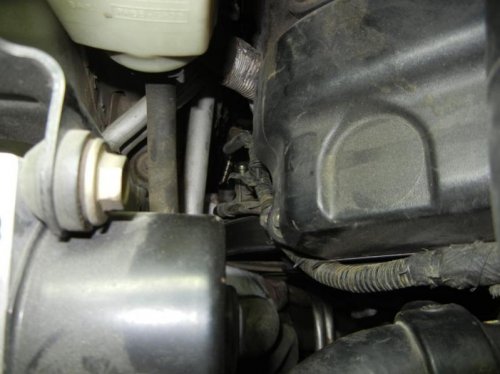
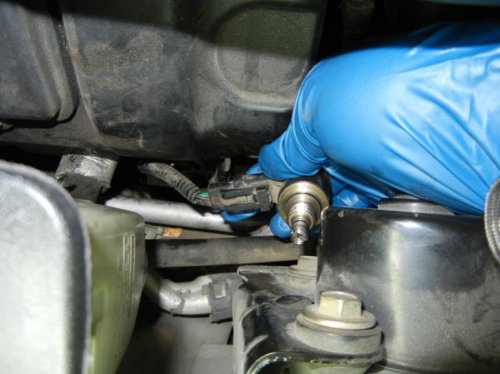

Installation is reverse of removal, except you fill new fluid in at the end, start car, check fluid level, check for leaks. When I installed my solenoid, I tightened it hand tight as the old one wasn't on very tight. My new solenoid was able turn somewhat freely on the connector side, is it too loose? It seems like its supposed to turn like that by design. Didn't notice any leaks, i'll watch it for the next few days. Could someone please clarify this for me? Hope this helps someone. Now my fan kicks on high, yay, but i may have a stuck thermostat too, I'm going to tackle that next weekend.


