falcon50
Active LVC Member
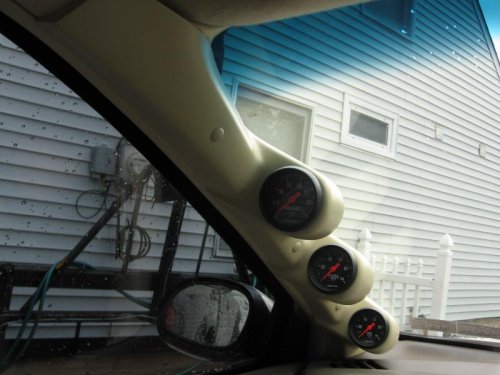
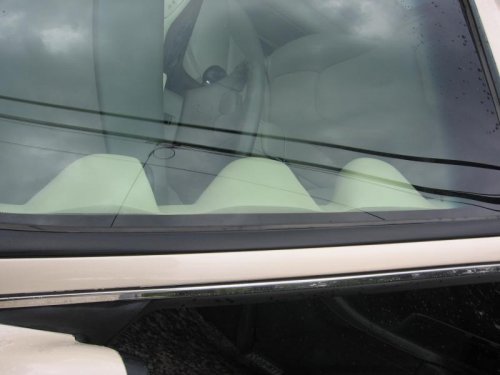
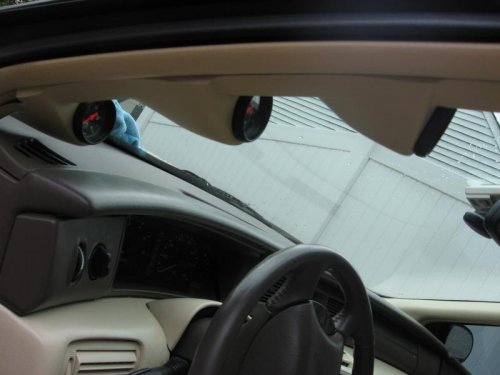
Since the Triple A Pillar Gaugepod is designed for a Thunderbird, some modifications are needed.
Material List:
Triple A Pillar Gaugepod – Lotek http://www.gaugepods.com/ford.html, 1989 - 1997 Thunderbird Coupe w/o Passive restraint Color: Gray
Autometer 2 1/16” Gauges – OIL PRESSURE 0-100 PSI MECH (2604), BOOST PRESSURE 0-35 PSI MECH (2616), FUEL PRESSURE 0-100 PSI ELECT (2663)
Filler – J-B Weld 50133 Tan Plastic Bonder Syringe
Paint – SEM Color Coat Santa Fe 15123
Gaugepod Modifications:
• Cut top and bottom to match contour of A Pillar, I used a Dremel with a ¾” sanding drum
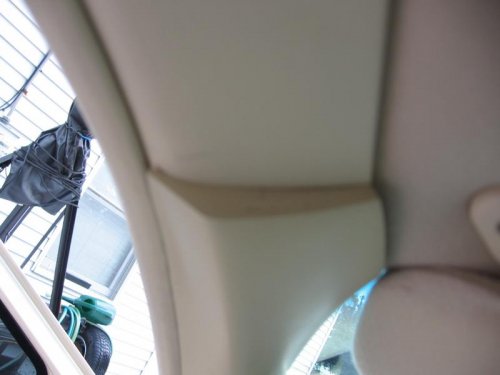
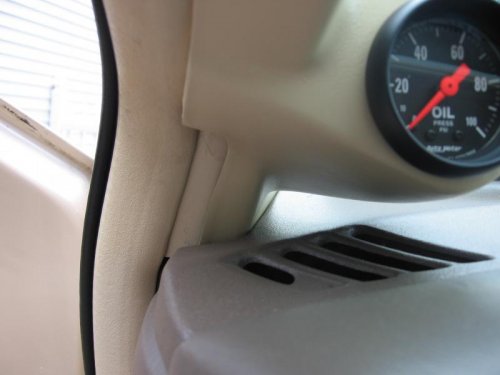
• Each pod has a gap where it meets the A pillar inside, outside and at the top which looks bad.
• Sand the Gaugepod to match the texture of the A Pillar
• Prep, paint and install


Material List:
Triple A Pillar Gaugepod – Lotek http://www.gaugepods.com/ford.html, 1989 - 1997 Thunderbird Coupe w/o Passive restraint Color: Gray
Autometer 2 1/16” Gauges – OIL PRESSURE 0-100 PSI MECH (2604), BOOST PRESSURE 0-35 PSI MECH (2616), FUEL PRESSURE 0-100 PSI ELECT (2663)
Filler – J-B Weld 50133 Tan Plastic Bonder Syringe
Paint – SEM Color Coat Santa Fe 15123
Gaugepod Modifications:
• Cut top and bottom to match contour of A Pillar, I used a Dremel with a ¾” sanding drum
• Each pod has a gap where it meets the A pillar inside, outside and at the top which looks bad.
o Fill these gaps with the JB Weld.
o Tape a 1” wide strip of metal on each side of the Gaugepod on the inside even with the edge of the Gaugepod as a guide.
o Mask the inside and outside of this metal strip and wipe with WD-40 to guarantee the filler does not adhere to the metal strip.
o Mask the Gaugepod.
o Fill and sand smooth, it took 3 Syringes of filler• Sand the Gaugepod to match the texture of the A Pillar
• Prep, paint and install


